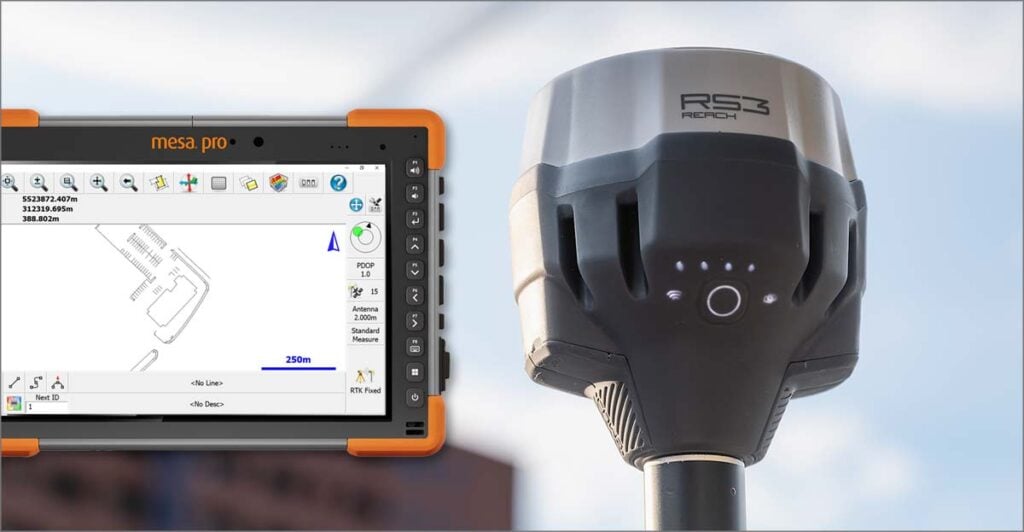
Getting Started with the Emlid Reach RX
First Steps
We’ve summarised the video above for those who prefer to read the details.
- First we will turn the Reach RX on by pressing the button so it will show us a white LED which means that it’s functioning.
- Once it’s functioning make sure that your phone has Bluetooth turned on so you can connect to the receiver and you have the Emlid Flow app installed into your device.You can download the Emlid Flow App from Apple store or in Google Play store for free.
- Open the Emlid Flow app and you will see your receivers in here. Reach RX should be an available receiver – so tap on it and it will connect to the receiver. Once it’s connected you will see the LED on the Reach RX flash twice.
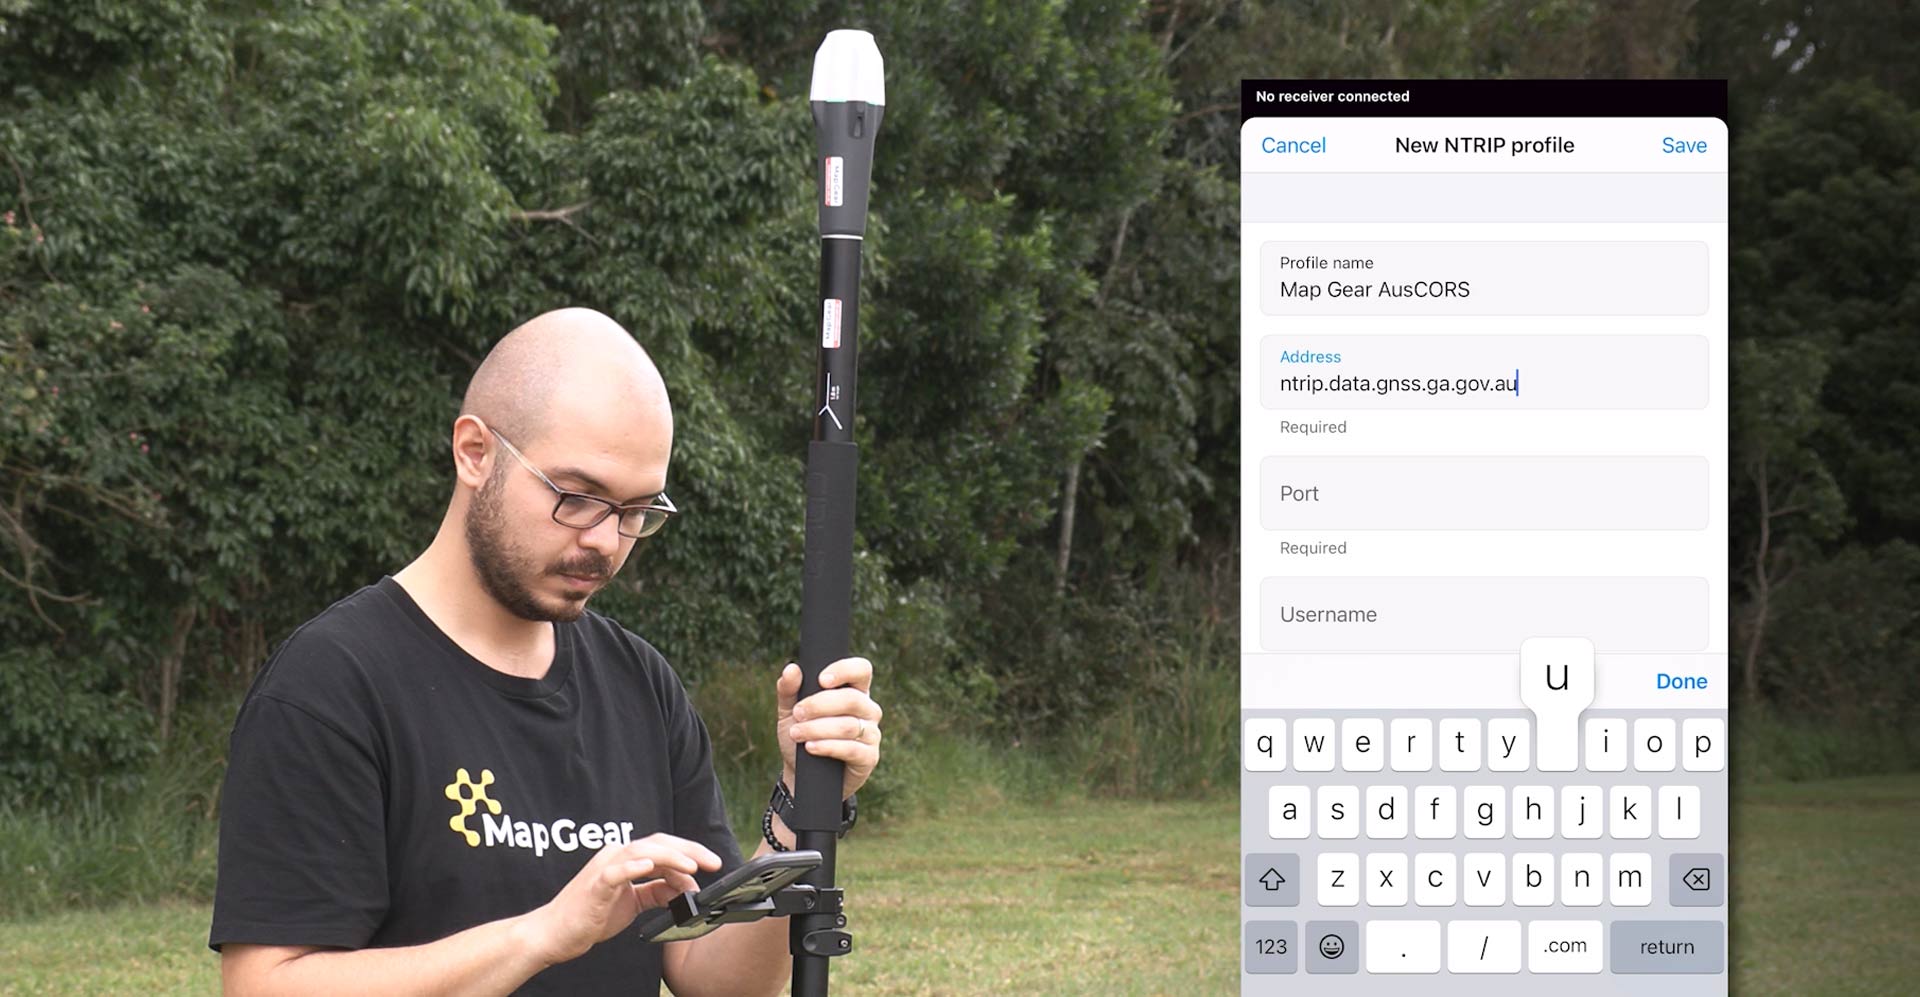
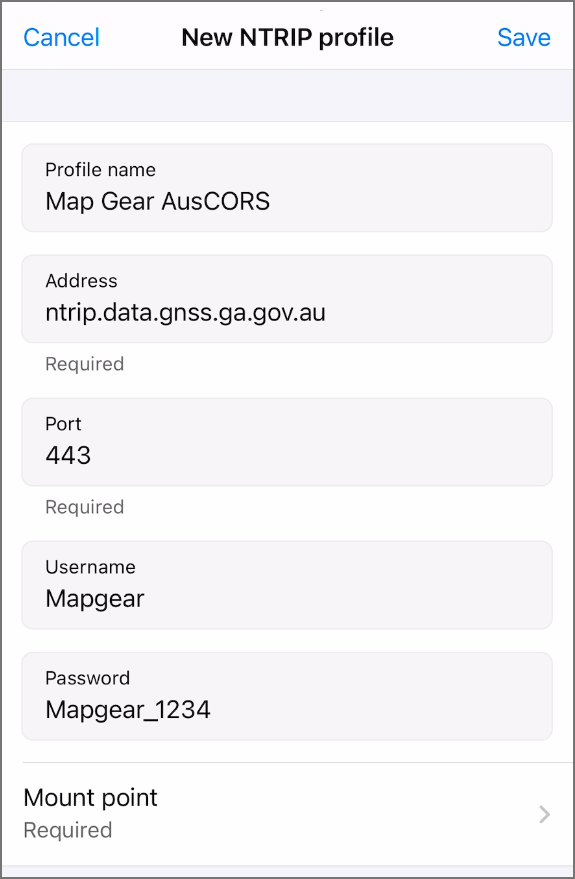 Entering an NTRIP an profile for RTK corrections
- To receive corrections for the Reach RX you need to enter NTRIP credentials. To do this, tap correction input and enter your NTRIP credentials. To get started with a free AUSCORS account, visit https://gnss.ga.gov.au/stream and select Register an Account to obtain your account details before for the next step.
- Select the plus button and give a name to your NTRIP profile e.g. AUSCORS Atherton.
- For AUSCORS setup, the default address is NTRIP.DATA.GNSS.GA.GOV.AU,
– the port is 443
– Enter your username and password - Choose a mount point for your area. Choose the closest mount point for higher accuracy.
- Save the NTRIP profile
SINGLE, FLOAT & FIX solution status
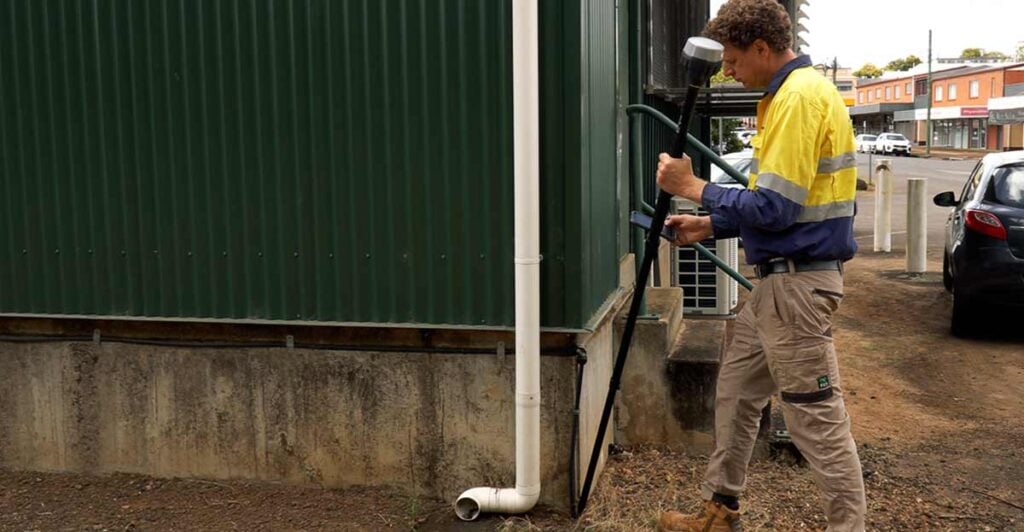
Important – The Reach RX must be in view of satellites in order to have corrections applied. For best results make sure you are outside with the receiver above head height so your body does not block data from visible satellites.
Once the Emlid Reach RX is connected and receiving corrections there are three different levels of solution which will be displayed by the LED on the receiver – SINGLE, FLOAT and FIX.
- SINGLE is when it’s white LED it means that it’s receiving satellite corrections but it cannot resolve itself to a centimetre precision – this means that it’s level of accuracy level could be a couple of metres.
- In FLOAT it shows a yellow LED which means it’s receiving corrections but it didn’t have time to fix itself to centimetre precision – this means it’s at sub meter level of accuracy.
- If it’s showing green then it means that it’s a FIX and you can collect points in a centimetre precision.
Project setup (Coordinate system, Vertical Datum & units)
- Go to the Survey tab and and create a project for collecting a point.
- Give a name to your project, enter an Author name, code libraries are optional as well and only available with the paid subscription. If you create an account with Emlid Flow and have a paid subscription you can use custom code libraries to assign your points as well as lines.
- Select a coordinate system in AUSCORS you only receive Corrections in GDA2020 which is the most recent coordinate system. If you want to receive corrections in a previous coordinate system such as GDA94 you cannot use AUSCORS. In this case we recommend using Hexagon Smartnet.
- The vertical datum could be set as AHD Heights.
- Linear Units – you can choose units such as metres or feet.
 Entering in Points
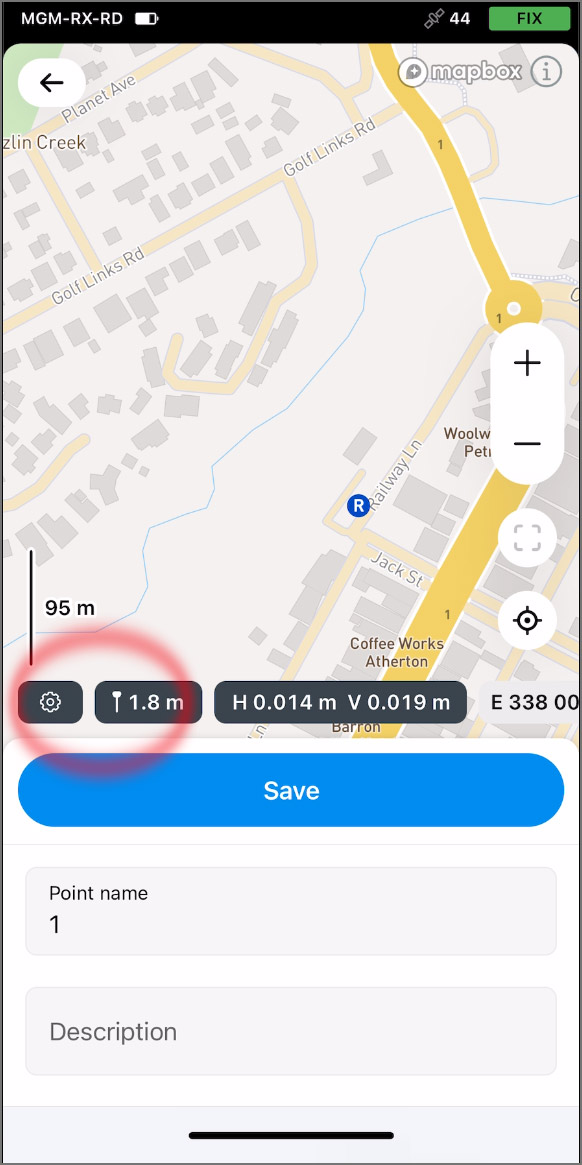
Before you collect your first point there are two more details to set up. Enter the project and select the Antenna Height button.
Antenna Heigh – the distance from the ip of your pole to the base of your Emlid Reach RX. For example, if using an Emlid survey pole which has 1.8 meters full length – enter 1.8 meters and hit save.
Averaging settings – The small cog wheel icon to the left of the Antenna Height icon is for the Averaging Settings. This is for calculating an average position over a set time period. For example 5 seconds.
In addition, select FIX only to only record points when the receiver is receiving correction and is in the FIX solution.
Your first Point
Enter a name and description for the point you are about to collect, then choose done and level the bubble on the survey pole.
Hold the pole steady and select measure – wait for 5 seconds without moving until the receiver collects the point.
The points are saved as list and also on the map.
Sharing your project
This project can be exported as a CSV, DXF and as a Shapefile. The project will also be available online via Emlid Flow 360 (we’ve got a seperate video about that here).